If you’re new to streaming, there is something fundamental that you’ll need to understand how to do: creating scenes in OBS Studio. Scenes are what enable you to change between your gameplay, webcam, “Just Chatting” streams, and even start and end screens. Proper OBS Studio scene configuration will make your stream professional and entertaining.
At GreatOverlays, we assist streamers in creating and customizing their configurations using high-quality stream overlays, talking banners, webcam frames, and alerts. Throughout this tutorial, we shall guide you through the process of creating several scenes within OBS Studio, as well as demonstrate how to present them in a professional way using GreatOverlays templates.
What Are Scenes in OBS Studio?
A scene in OBS Studio is essentially a group of sources (such as your game capture, webcam, overlays, alerts, or chat boxes) all laid out in one composition. You can have multiple scenes and change between them while broadcasting live.
Example scenes:
- Gameplay Scene – Game capture + webcam + alerts
- Chatting Scene – Webcam + animated talking banner + chat box
- Starting Soon Scene – Animated intro banner + music + branding
- Ending Scene – Outro animation + social media handles
GreatOverlays packages allow you to have pre-built designs for all of these scenes so your stream appears cohesive and professional.
Step 1: Open OBS Studio & Create Your First Scene
- Open OBS Studio.
- Towards the bottom of the window, locate the Scenes box.
- Click the + (Add) button and name your new scene (e.g., “Gameplay” or “Starting Soon”).
- Do this again to create several scenes (Start, Chat, Game, End).
Pro Tip: Make switching between scenes easy during a live stream by naming them clearly.
Step 2: Add Sources to Your Scenes
A scene is constructed using sources. For instance:
- Game Source – Add “Game Capture” or “Window Capture” for your game.
- Webcam Source – Add “Video Capture Device” to display your facecam.
- Overlay Source – Import GreatOverlays animated banners, webcam frames, or start/end screens.
- Alerts & Labels – Add browser sources for follower alerts, donation labels, and chat boxes.
This is where your overlays from GreatOverlays tie everything together.
Step 3: Customize Your Scenes with Overlays
To make your stream look pro:
- Download a GreatOverlays package (start, gameplay, chat, and end scene designs included).
- Go to Sources → Add → Media Source or Image Source.
- Add the files you were given (typically WEBM animations or PNG images).
- Place overlays around your webcam, game capture, or chat region.
This creates a well-branded and themed look that every scene in your collection maintains.
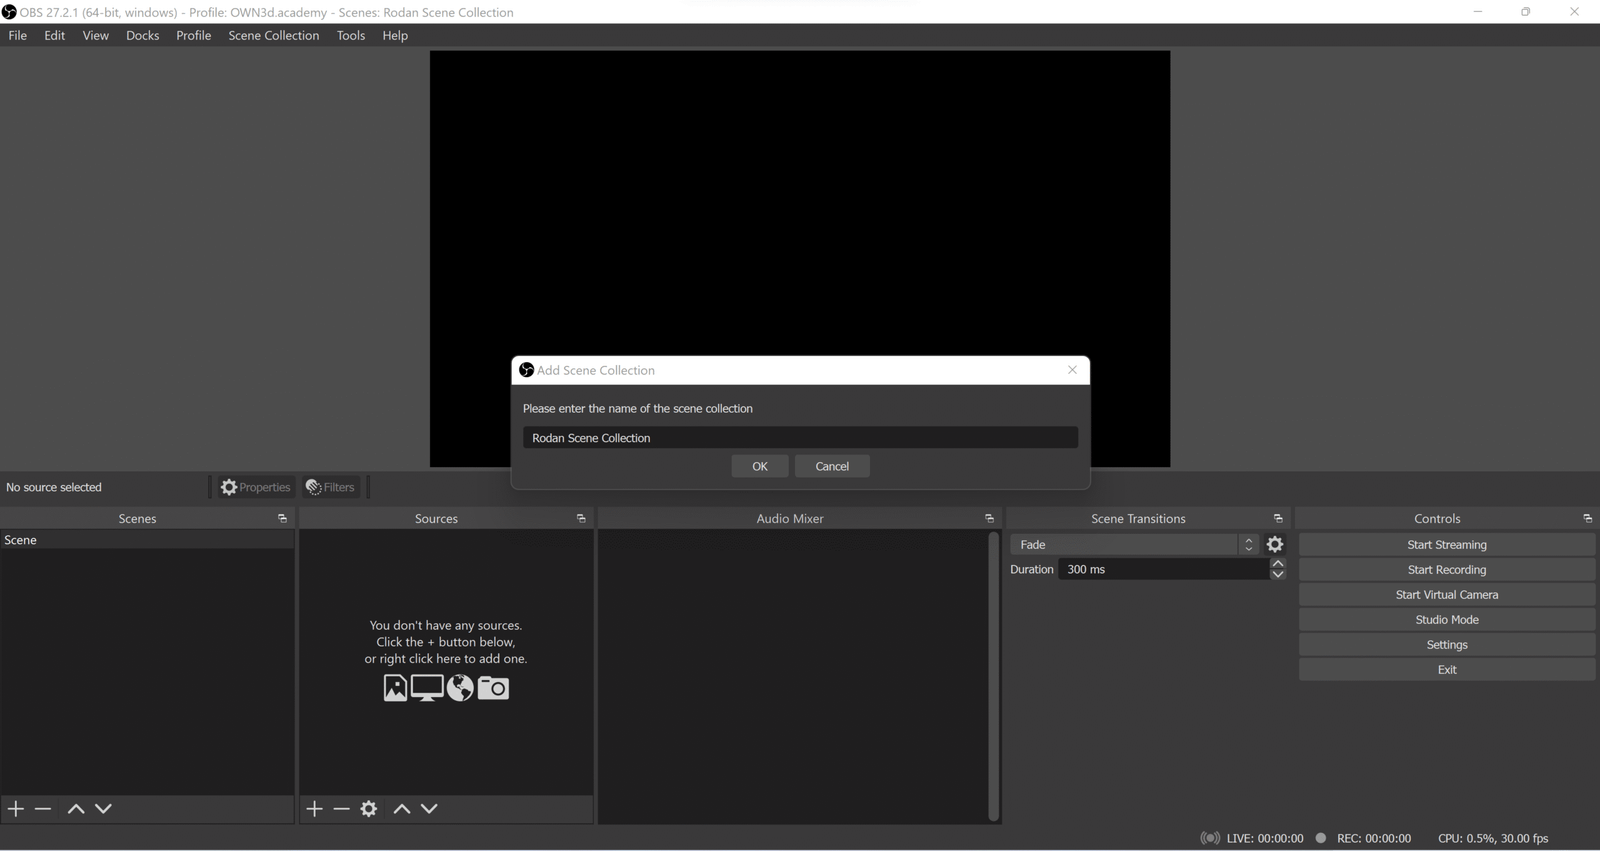
Step 4: Organize Your Scene Collection
OBS Studio also lets you save and organize various collections of scenes called Scene Collections.
- Go to the top menu → Scene Collection → New.
- Save your configuration as “GreatOverlays Stream Setup” (or whatever you want).
- You can change collections if you stream more than one game or use more than one layout.
Step 5: Changing Scenes While Streaming
Once you have your OBS Studio scenes set up:
- Use the Scenes dock in OBS to switch manually.
- Or, for a smoother process, set hotkeys (e.g., F1 for Start Scene, F2 for Gameplay Scene, F3 for Chat Scene).
Advanced Tip: Include stinger transitions (from GreatOverlays) to make your transitions appear smooth and cinematic.
Pro Tips from GreatOverlays
✅ Have at least 4 scenes: Start, Gameplay, Chat, End.
✅ Employ animated overlays to draw attention on transitions.
✅ Include stream labels (last follower, most recent donation) to enhance interaction.
✅ Align overlays and alerts to maintain a consistent, professional brand.
FAQ – OBS Studio Scenes & Overlays
Q1: How many scenes do I need to create in OBS Studio?
You should at least have a Start, Gameplay, Chat, and End scene. More advanced streamers can include BRB (Be Right Back) or intermission scenes.
Q2: Can I utilize GreatOverlays designs for all of my scenes?
Yes! Our sets include coordinating overlays for several scenes, so your stream branding remains consistent.
Q3: Do I require a high-end PC to run animated overlays?
Not necessarily. Our overlays are optimized (WEBM format) to smoothly run on most streaming configurations.
Q4: Is it possible to switch scenes automatically in OBS Studio?
Yes, OBS supports hotkeys and even sophisticated plugins that allow you to automate scene switching.