All streamers desire to have their channel appear professional, interactive, and attractive. One of the best ways through which you can make this happen is by incorporating animated talking banners.
Such overlays enable you to accentuate your webcam, chat, or messages during talking portions, making your stream attractive and dynamic.
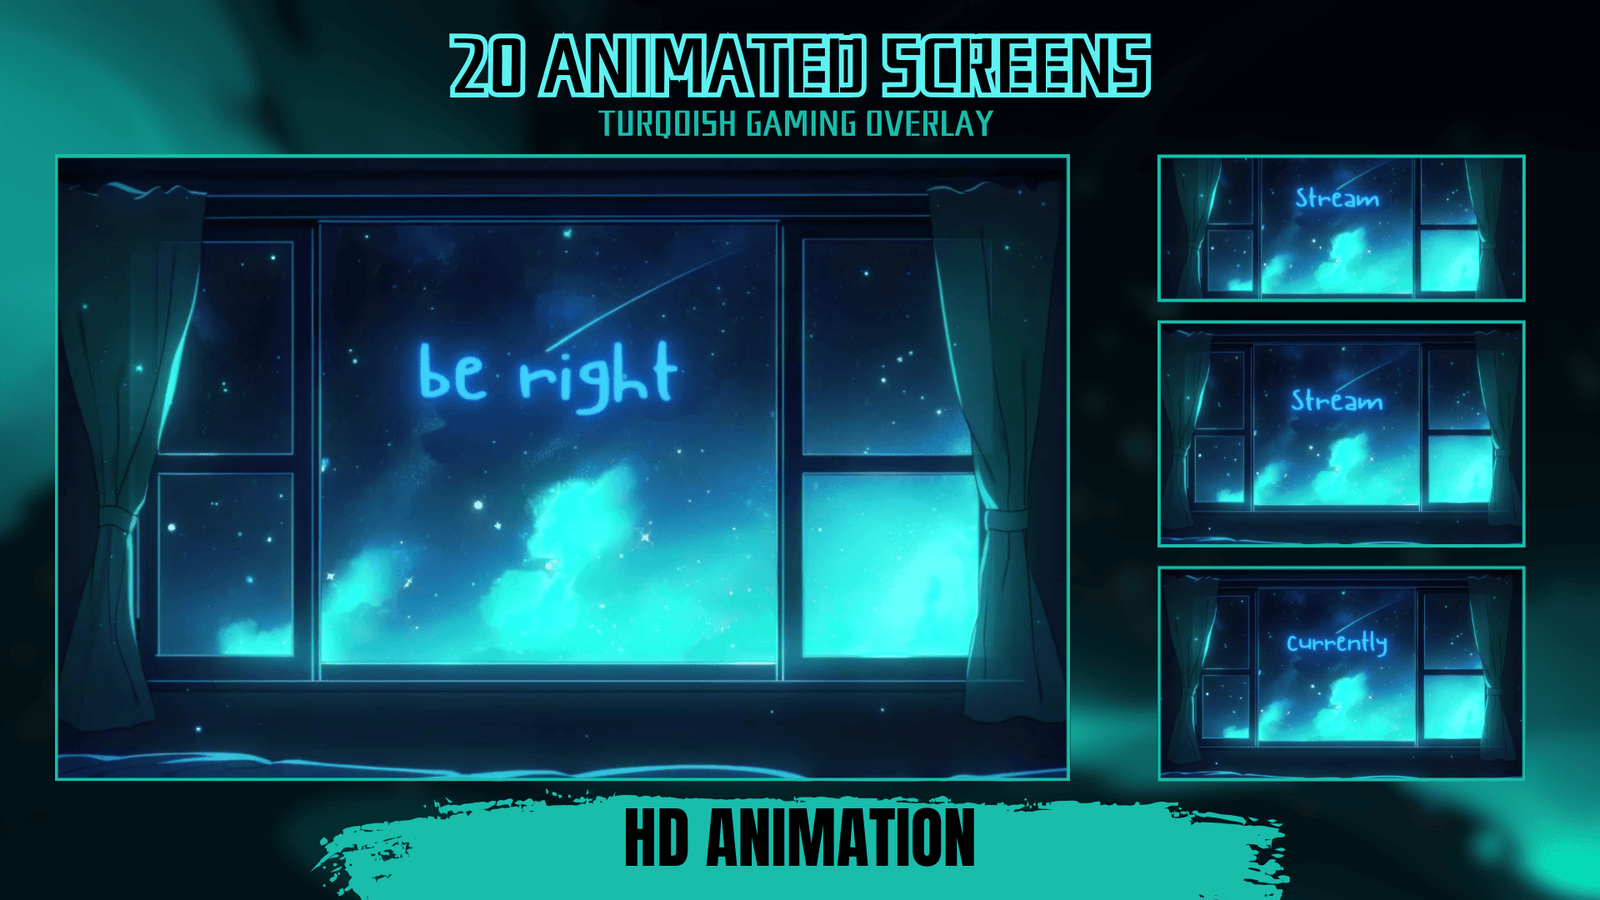
At GreatOverlays, we are experts at delivering high-quality animated stream overlays, such as talking scene overlays to be used for Twitch, YouTube, Kick, and Facebook Gaming.
In this tutorial, we will guide you step by step on how to add animated talking banners in OBS Studio and achieve a clean, professional appearance for your live streams.
Why Should You Use Animated Talking Banners from GreatOverlays?
- Professional Branding – Provides your talking scenes with a clean, animated look.
- Full Compatibility – Perfectly compatible with OBS Studio, Streamlabs OBS, and all other streaming software.
- Engagement Boost – Engages your audience throughout gameplay breaks.
- Complete Packages – GreatOverlays’ animated talking banner packs usually come with complementary alerts, webcam frames, and chat boxes to ensure a completely branded stream.
Step 1: Download Animated Talking Banners from GreatOverlays
- Visit GreatOverlays.com.
- Select your preferred animated talking scene overlay pack.
- Download and extract the files (typically in WEBM or PNG format).
Step 2: Open OBS Studio & Prepare Your Scene
- Open OBS Studio.
- Add a new scene named “Talking Scene” or “Chatting Scene”.
- Add your Webcam Source and place it wherever you wish in the overlay.
Step 3: Add the Animated Talking Banner Overlay
- Go to Sources → Add → Media Source.
- Add the WEBM animated talking banner file from your GreatOverlays package.
- Ensure that “Loop” is turned on so the animation will continue indefinitely.
- Place the banner between your webcam, chat box, or screen region.
Step 4: Personalize Your Talking Scene
- Insert a Chat Box Overlay (also found in GreatOverlays packages).
- Add Stream Labels (last follower, last subscriber, donations).
- Align your webcam to fit exactly within the animated banner.
- Save your layout for easy toggling from gameplay to talking scenes.
Step 5: Test Before Streaming
✅ Begin a test recording.
✅ Verify that your talking banner animation works seamlessly.
✅ Make sure your webcam and chat box are properly aligned with the overlay design.
Pro Tips from GreatOverlays
- Employ synchronised animated alerts (follower, sub, donation) to achieve a professional and branded appearance.
- Add an image or video background behind your talking banner for enhanced style.
- Make your overlay design cohesive with your overall channel branding.
FAQ – Talking Banners in OBS Studio
Q1: Is OBS Studio required to utilize GreatOverlays talking banners?
Not at all. Our overlays are compatible with OBS Studio, Streamlabs, and XSplit. OBS is simply the most well-known option.
Q2: Are talking banners resource-intensive on PC performance?
No. GreatOverlays banners are optimized in WEBM format for seamless performance.
Q3: Can my chat be included in the talking banner scene?
Yes! You can easily add your Twitch or YouTube chat to OBS and insert it within the banner.
Q4: Do GreatOverlays talking banners support all platforms?
Yes. They are compatible with Twitch, YouTube, Kick, and Facebook Gaming.