Animated webcam overlays are a must if you’d prefer your live stream to look professional and unique. Not only do they add borders to your webcam, they also ensure your stream appears professional and branded.
At Great Overlays, we provide high-quality animated webcam frames designed specifically for Twitch, YouTube, Kick, and Facebook Gaming.
In this guide, we are going to instruct you on how to install and implement Great Overlays’ animated webcam overlays into your streaming software, so your stream is up-to-date and stands out from the crowd.
Why Great Overlays’ Animated Webcam Overlays?
- Unique Designs – Tailored explicitly for Twitch & YouTube streamers.
- Easy Installation – Compatible with popular streaming tools like OBS Studio & Streamlabs.
- Professional Quality – Lag-free WEBM animations for silky smooth performance.
- Boost Engagement – A branded webcam overlay makes your stream immediately more engaging.
Step 1: Download Your Animated Webcam Overlay
- Visit GreatOverlays.com and select your preferred animated webcam overlay.
- Download the overlay package (usually WEBM files + PNG files).
- Unpack the package into a directory on your PC or Mac.
Step 2: Open Your Streaming Software
While you can use any tool you prefer, the overwhelming majority of streamers use OBS Studio or Streamlabs OBS because they’re free and stable. Don’t worry—both work great with your Great Overlays files.
Step 3: Add Your Webcam Overlay
- Open OBS Studio (or Streamlabs).
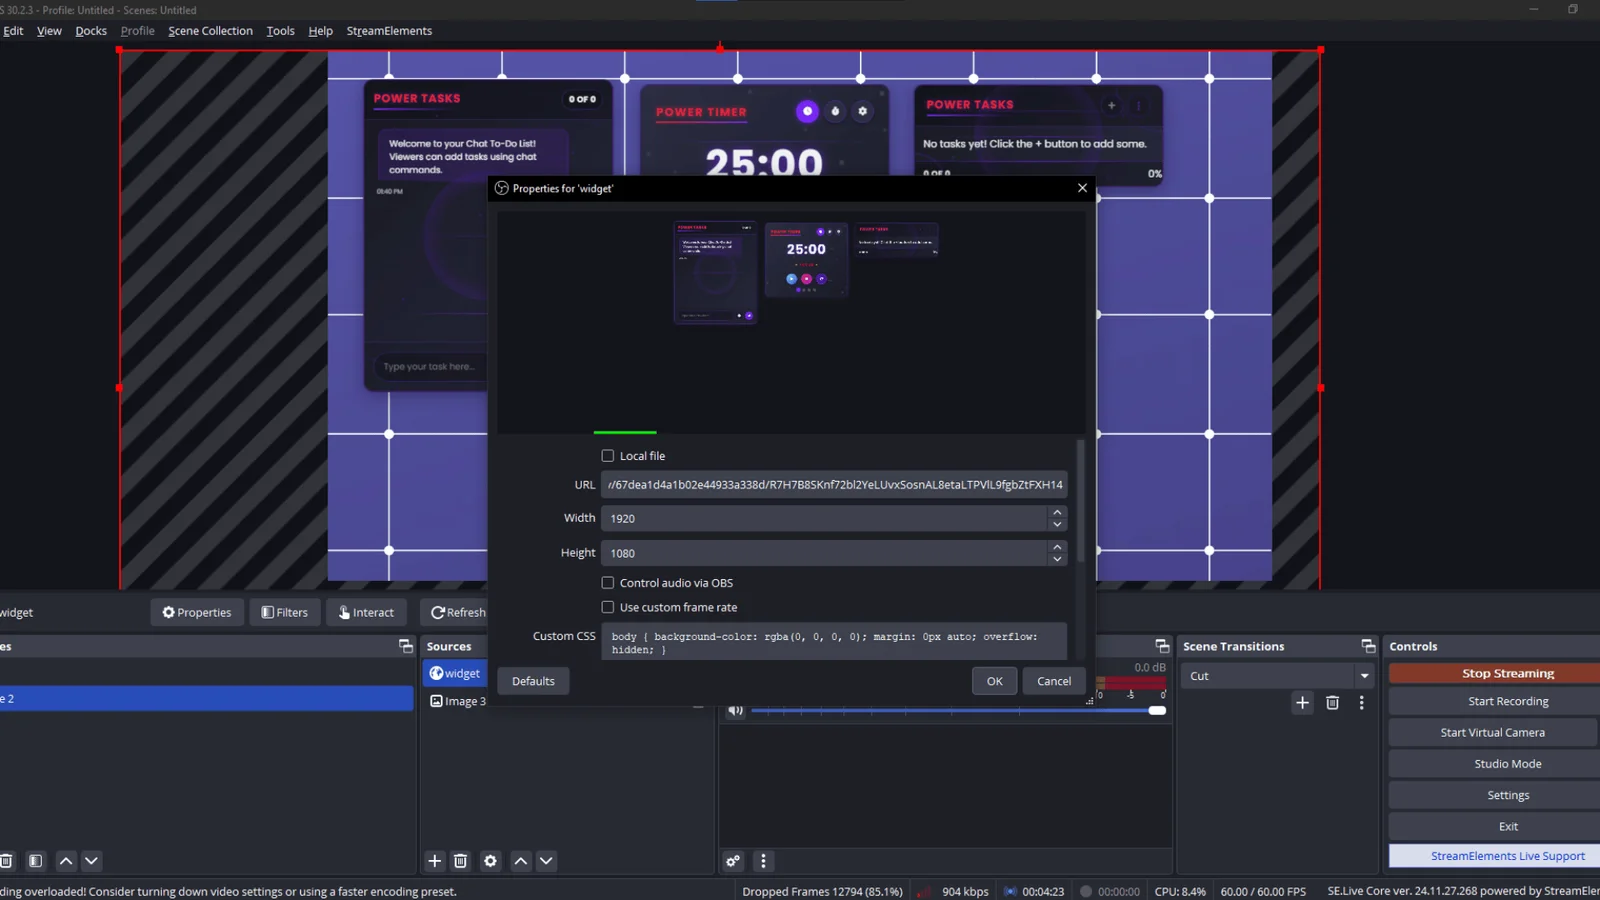
- Go to Sources → Add → Image or Media Source.
- Select the WEBM animated overlay file from your Great Overlays package.
- Place it on top of your webcam source so the frame shows around your video.
Step 4: Customize Your Stream Layout
- Resize your webcam to fit inside the overlay frame.
- Add other overlays from Great Overlays like intermission screens, alerts, and labels for a consistent brand.
- Save your scene collection so that you don’t lose your setup.
Step 5: Test Your Stream
Before you go live:
- Record a short test stream.
- Make sure the overlay animation is smooth.
- Make sure your webcam is properly seated into the frame.
Pro Tips from Great Overlays
✅ Use identical-colored alert animations (followers, donations, subscribers) from Great Overlays for a head-to-bottom branded feel.
✅ Overlay your webcam frame with a stream label overlay to display your newest follower, sub, or donation.
✅ Play around with different overlay colors and styles to fit your channel personality.
FAQ – Animated Webcam Overlays by Great Overlays
Q1: Do I need OBS Studio to run Great Overlays?
No! While OBS Studio is the most in-demand software, you can install Great Overlays on Streamlabs, XSplit, and even console streaming platforms.
Q2: Are your overlays heavy on performance?
Not at all. Our overlays are optimized with WEBM format, so the animations remain smooth and CPU usage is minimal.
Q3: Can I customize the color of my overlays?
Yes! Great Overlays packages contain multiple versions with customizable options. You can also change colors within free editors such as Photopea or GIMP.
Q4: Are Great Overlays compatible with Twitch, YouTube, and Kick?
Yes. All overlays are made to be compatible with all major streaming platforms.